art

Make Lemonade!


Theriot-Blackbird_art.jpg

It happens to all of us, amateur and pro a like, you think you have a great shot in the field, only to get home and find out it's just not quite right.  Maybe you blew the highlights a bit, or missed the focus, or . . .  take your pick, there's a whole bunch of possibilities.   So what to do now, trash it?

I don't think that should automatically be the next choice - at least not yet.  If the image has some character, let's get creative and try to save it.  Take a look at your image editor of choice (or plug-ins that work with it) and see what filters are available - just start playing around with the options - try black and white and go from there -  see what happens.  (Remember, you were probably ready to trash the shot anyway - so it's not like you are going to ruin it!)

Theriot-Glamor_Goose.jpg

The shot above was almost completely "bad lemons" (blown highlights and out of focus) but it had some character to it.  These fellows were having a gentleman's disagreement over a lady and the goose on the left seemed to be yelling directly in the other chaps ear.

This image was too cute, I had to do something to rehabilitate it.  My personal choice in filters is Nik Color Efex Pro and the primary effect in the goose image is an effect called "Glamour Glow".  Now it's still not a great image - but I like the personality it has.  If an image is technically perfect, but boring, there's not much you can do - but an interesting image will give you some latitude and allow some imperfections to be overlooked.

From the Soaring Artist’s Dictionary . . .
Bad lemons: all the sugar in the cupboard won't make these images sweet!  A really bad lemon usually has three or more critical flaws (the geese above have two) or a particular flaw that is exceptionally bad.  For example, if the focus was so terrible that you couldn't identify the critters as water fowl, than it probably wouldn’t qualify for lemonade!

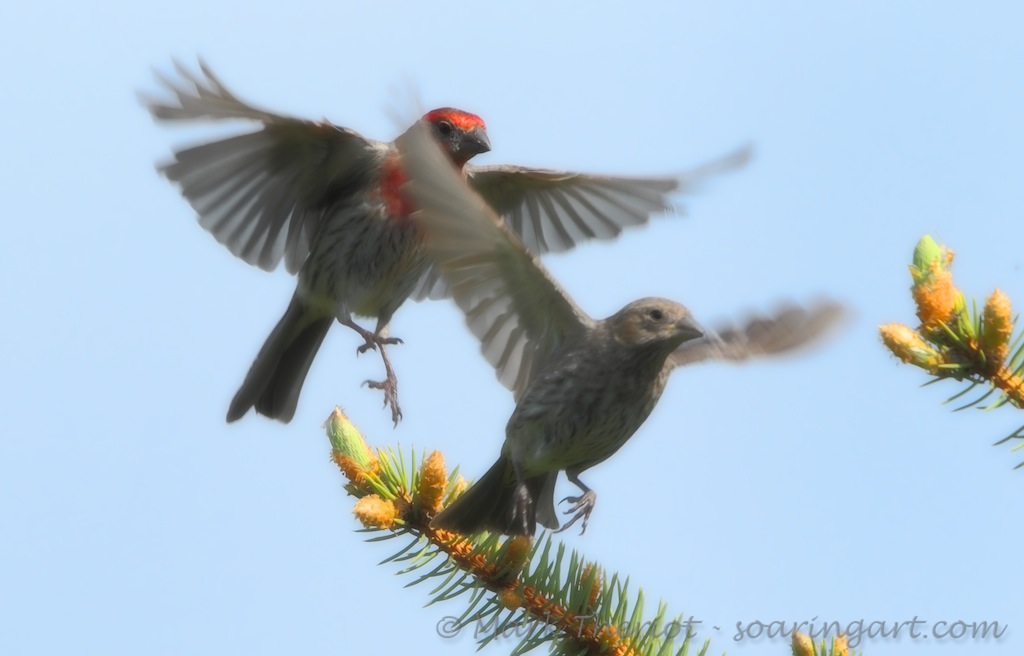
Theriot-Soft_Finches.jpg

Sometimes making lemonade isn’t about covering something up – occasionally it may be going with the flow.  The image above is an example of this, the in camera capture was out of focus.  Rather than try and make it “sharper”, I used a soft focus and a smooth portrait filter to accentuate the already out of focus image.  Once again, it certainly isn’t an award winning image – but I think it took and interesting image and made it pleasing.

Give it a try - the next time you end up with lemons, make some lemonade.  

Here are a few links to some creative filter packages, check out the trials and see what you think.

Nik Color Efex Pro

Nik Silver Efex Pro

Topaz Adjust

Stay in focus,

Mark


Display Your Craft

MCT 12 2011 12 29 2011 2032 In this day of digital and the web, printing is obsolete - right?

Well, it isn't - or at least it shouldn't be.  The ability to store and view your images on an iPad or share via the web is awesome, but it doesn't have to replace the printed art form - it should compliment it.  It may take a few minutes of time and some money (although it doesn't have to be expensive) but to see and share your work in large format and bright color is fantastic - and will be a constant source of satisfaction and pride.

Here are a couple ideas to display your craft and have fun doing it - without spending an arm and a leg.  It doesn't have to cost you upwards of $60 to $150 per framed print, just be a little creative!

  • Homemade Craft(my wife's great idea)
    • Take a Sunday drive into the country and keep your eye out for antique and yard sales - find a piece of scrap barn wood or some other type of weathered wood.  The piece of barn wood below cost $20.
    • Pick three or four images that go together or tell a similar story.  Print them out in 8x10 format (on regular 8.5x11 photo paper)  Cost of ink and paper is at most a couple dollars.
    • Clear, frameless clip frames.  We got the ones below from Hobby Lobby or you can get them from Amazon for around $5 each.
    • The sample below cost less than $38 dollars and looks great in the family room!

MCT 01 2012 01 01 2012 2067

  • Frameless clusters
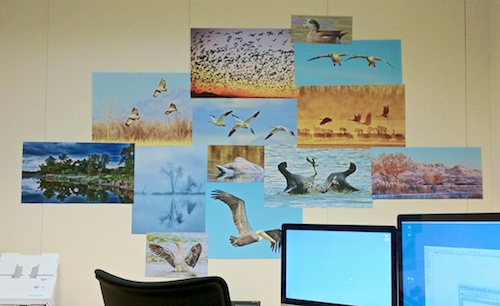
    • Build a wall collage of images on 13x19 paper (or 8.5 by 11 if that's all you have available).  You can be creative with your crops and just trim the excess - it really enhances the collage.
    • Now -  this is cheap, creative and fun way to display your image art.  (though I admit might not be for everyone's taste)   The image below and the one at the beginning of this post are collages I put up in my office.  And I'm not done - I'm planning for the larger one to take up the whole wall!
    • The Epson Matter 13x19 paper worked out astonishing well (and very cost effective) so you don't need to use the more expensive photo paper.
    • Each 13x19 image cost me less than 50 cents each (printing myself) so the total large collage was a whopping $6!  (and if I don't like it or want to start over, it's no big deal)

MCT 12 2011 12 29 2011 2040

Have fun, get a little creative and hang some of your work for all to see.  I love the satisfaction and enjoyment I feel every time I look up from my desk and see some of my favorite images - give it a try!!

See the light!

Mark